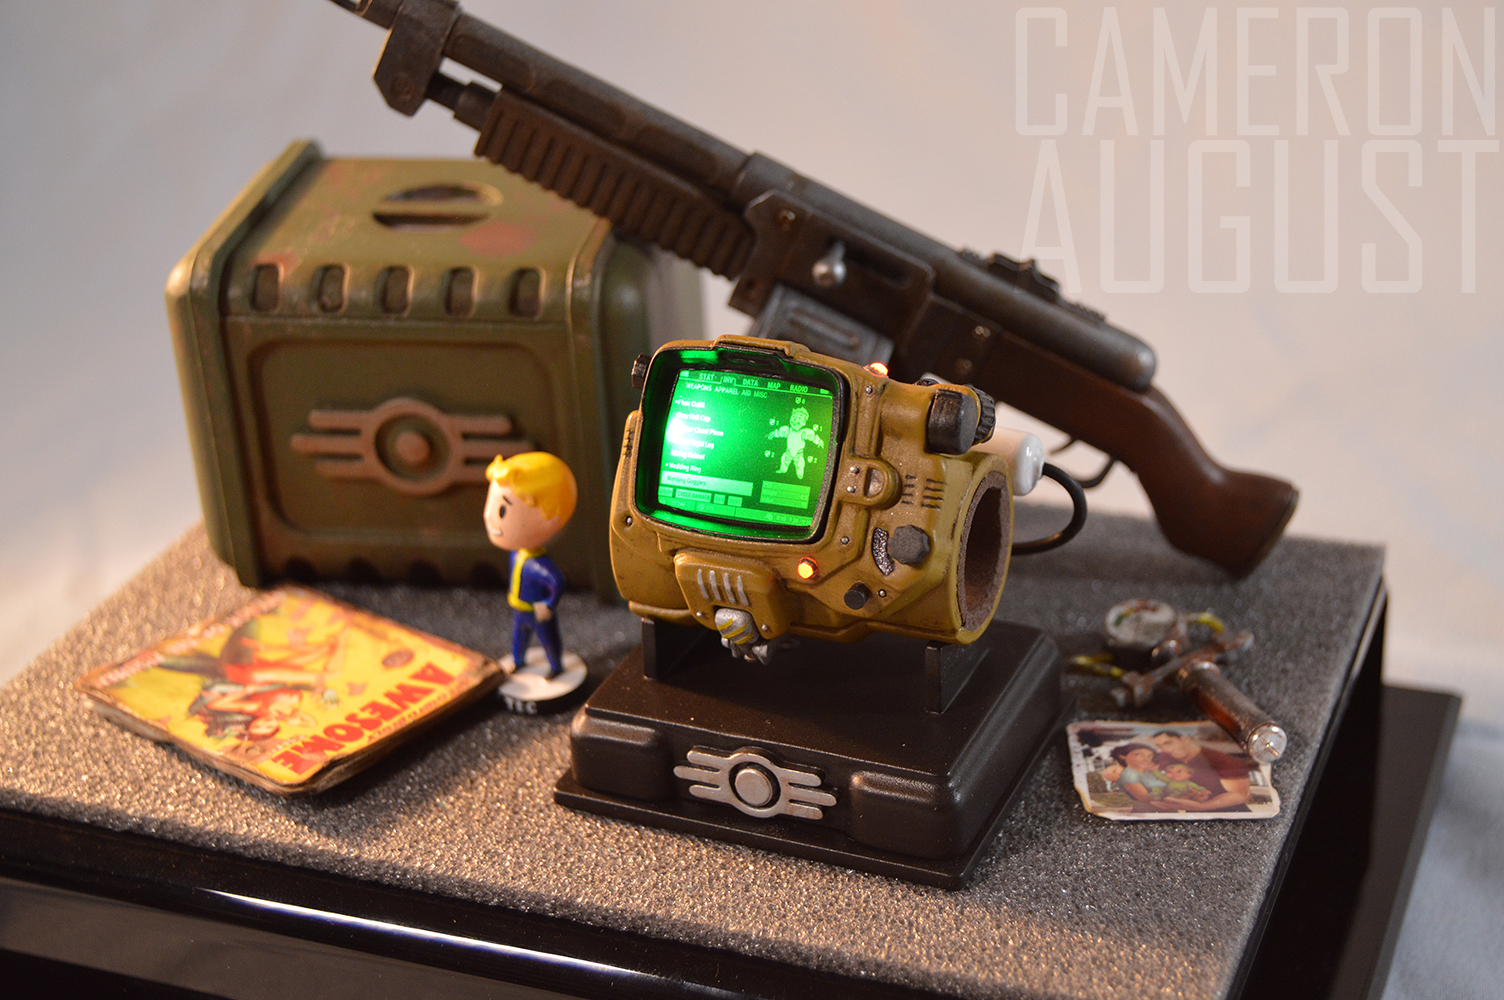
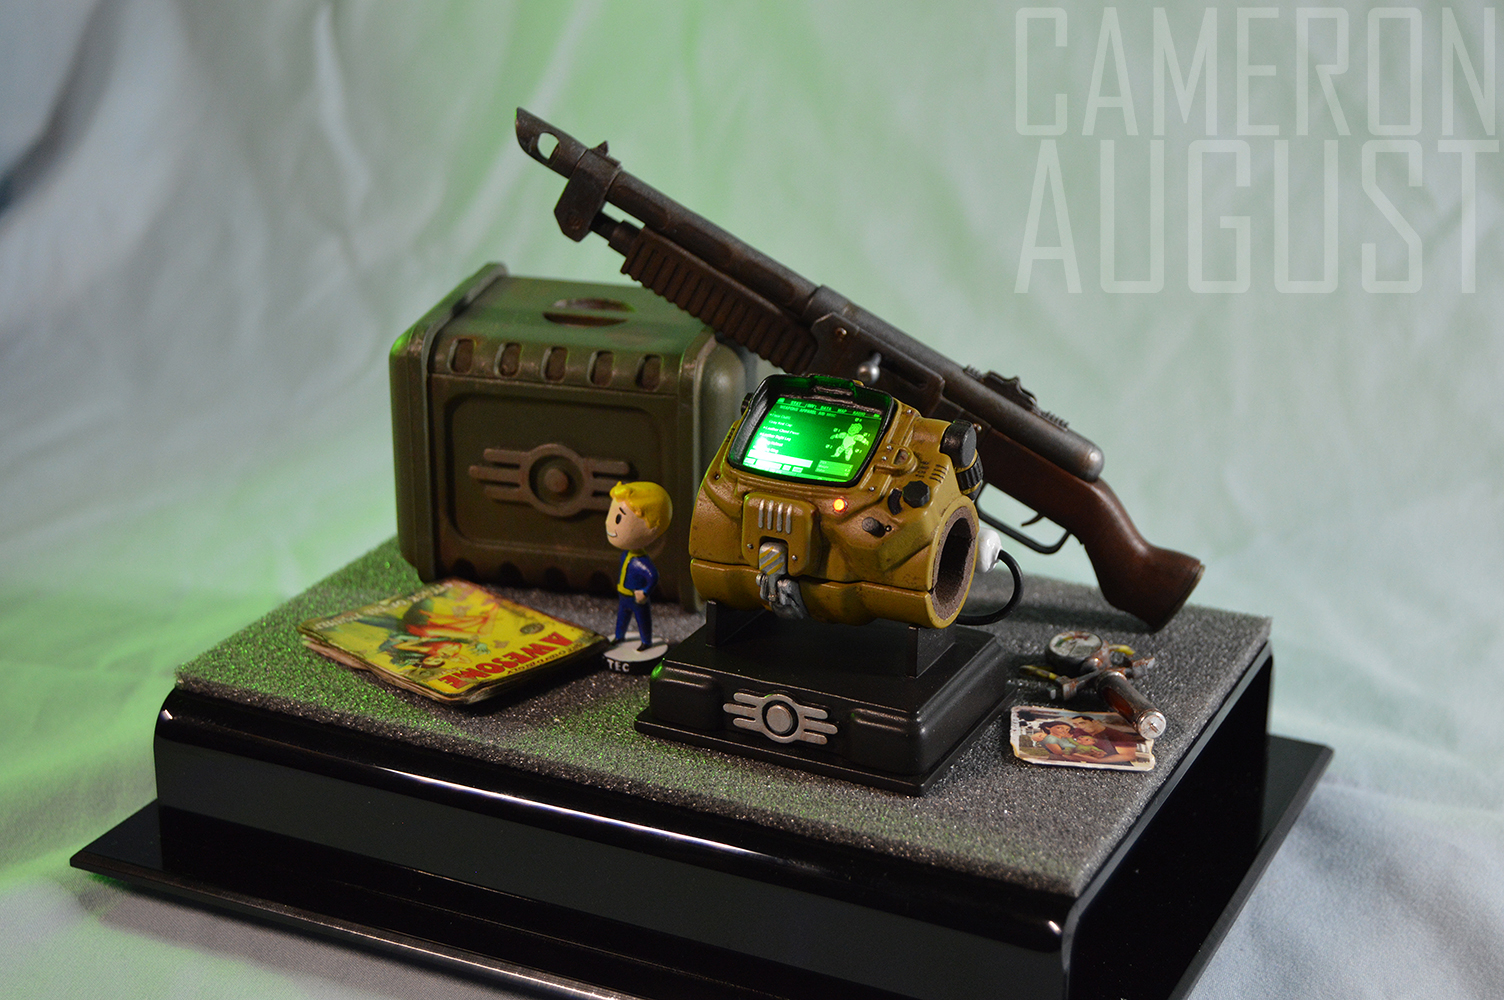
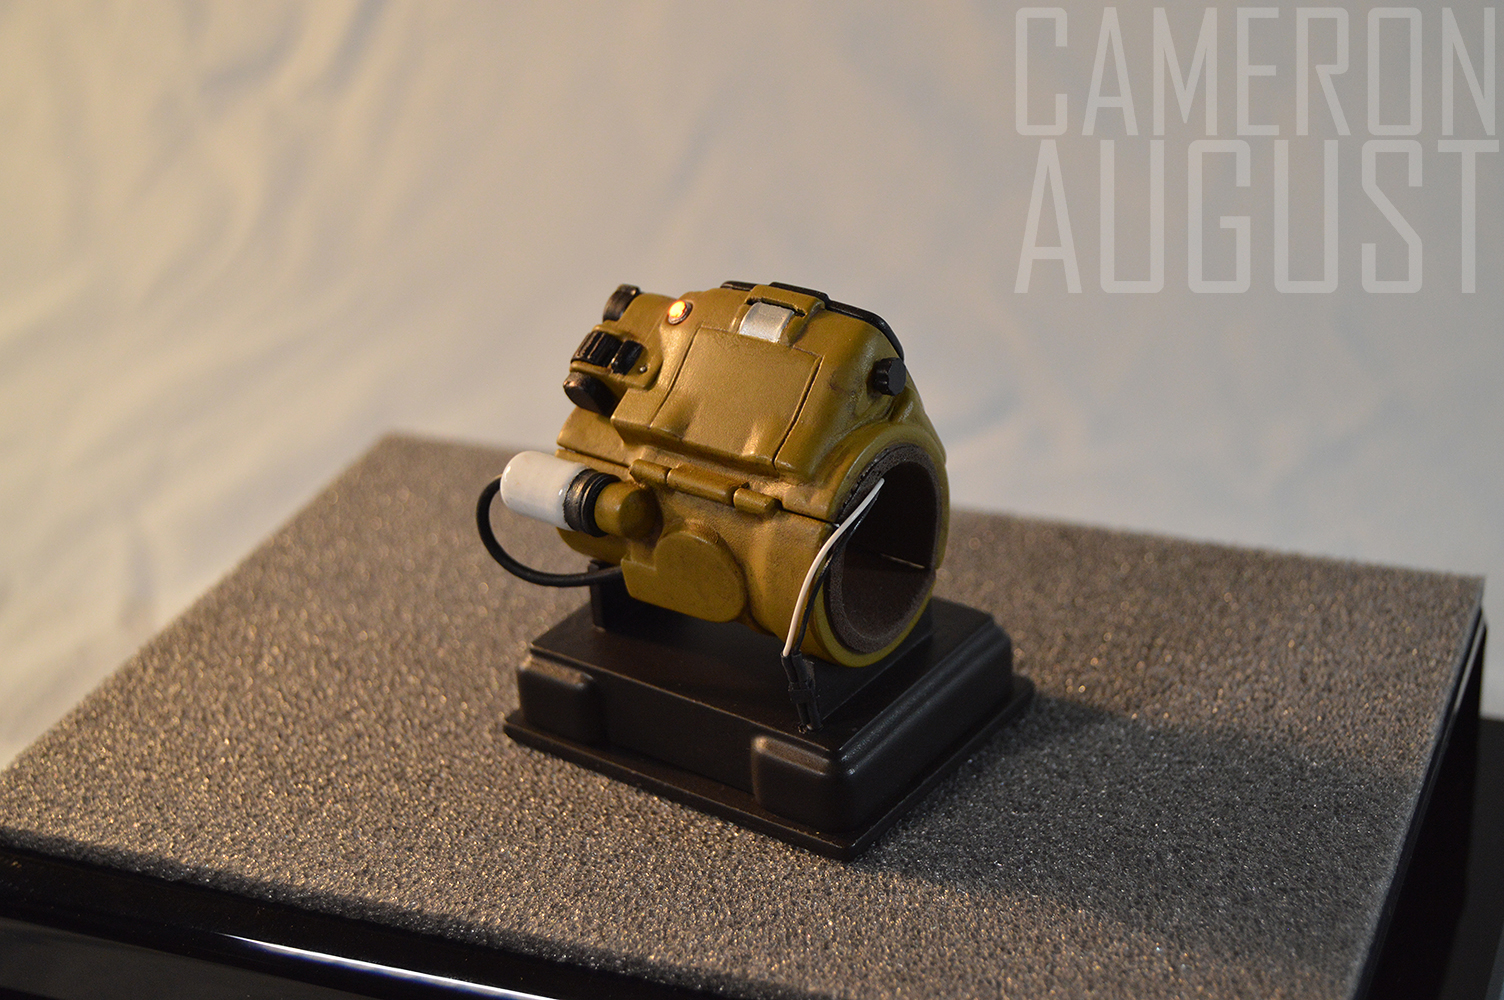
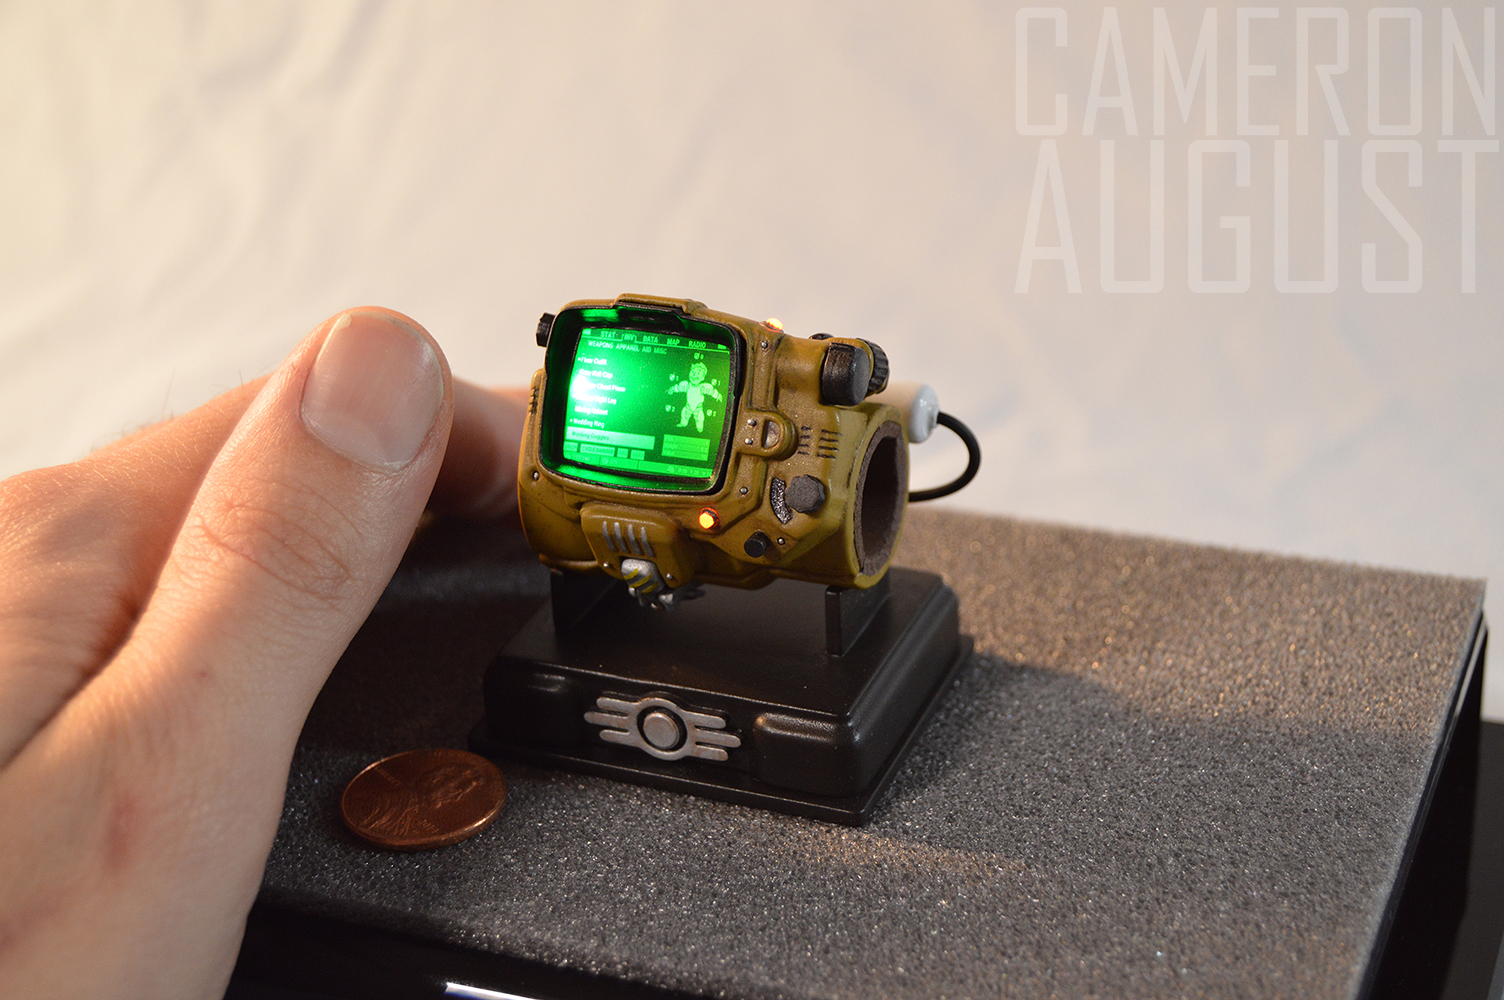
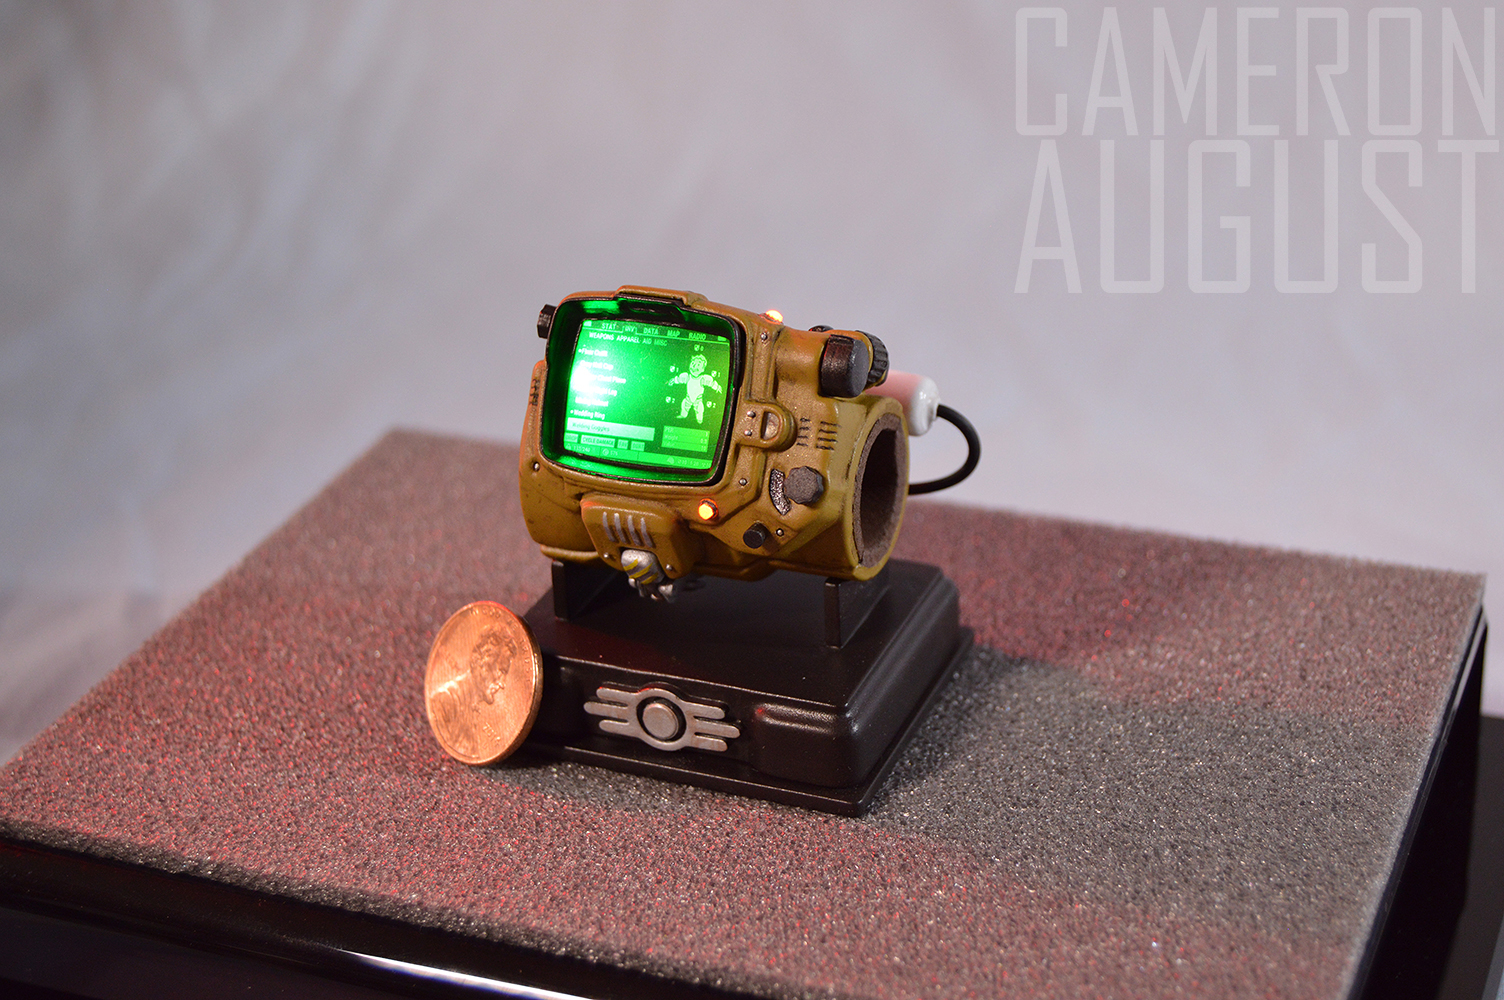
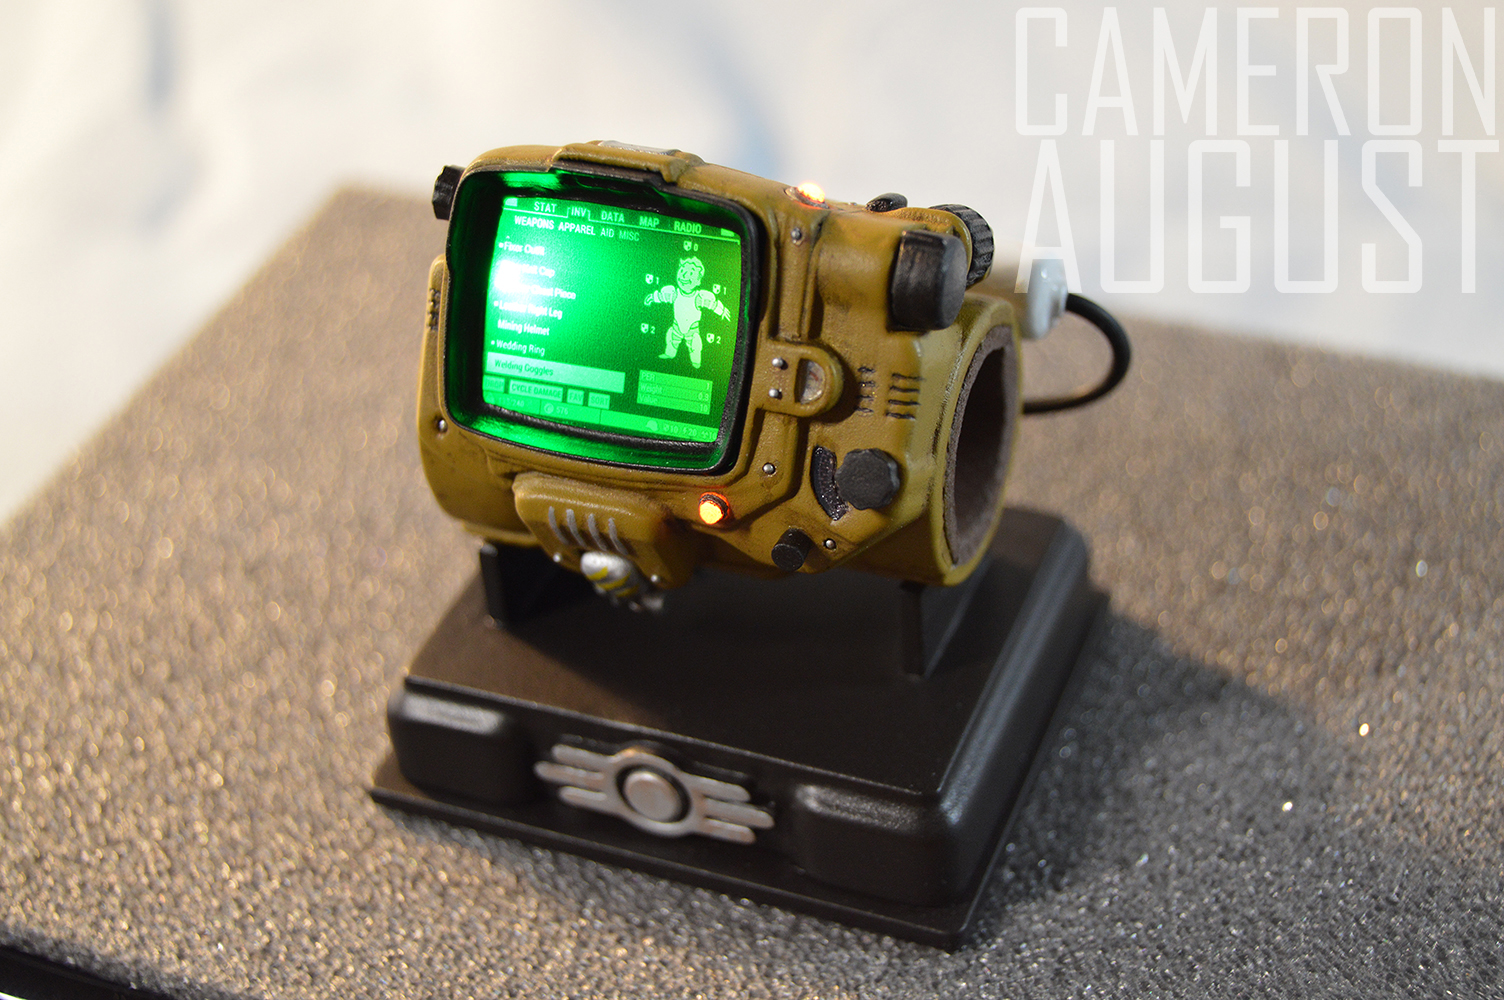
 Final Display

Display Stand Process
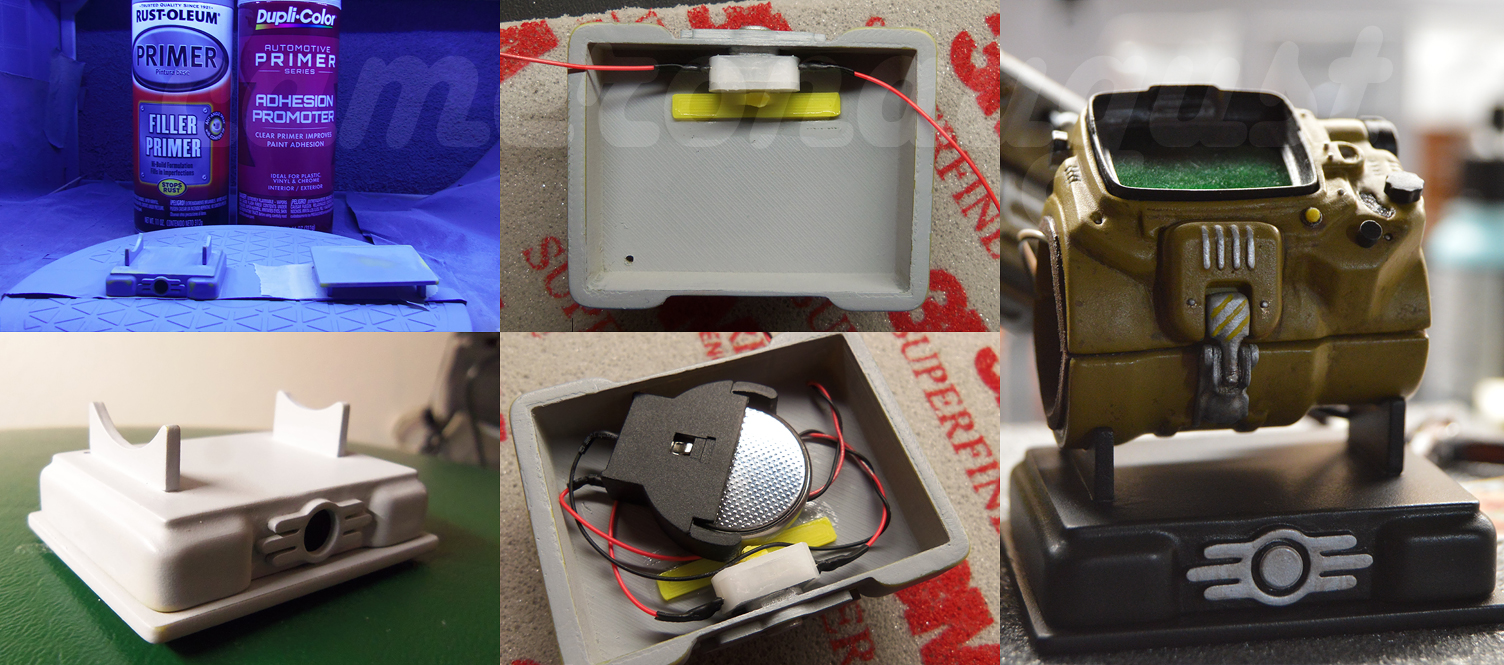
Discreetly houses the switch and 3V Cell Battery
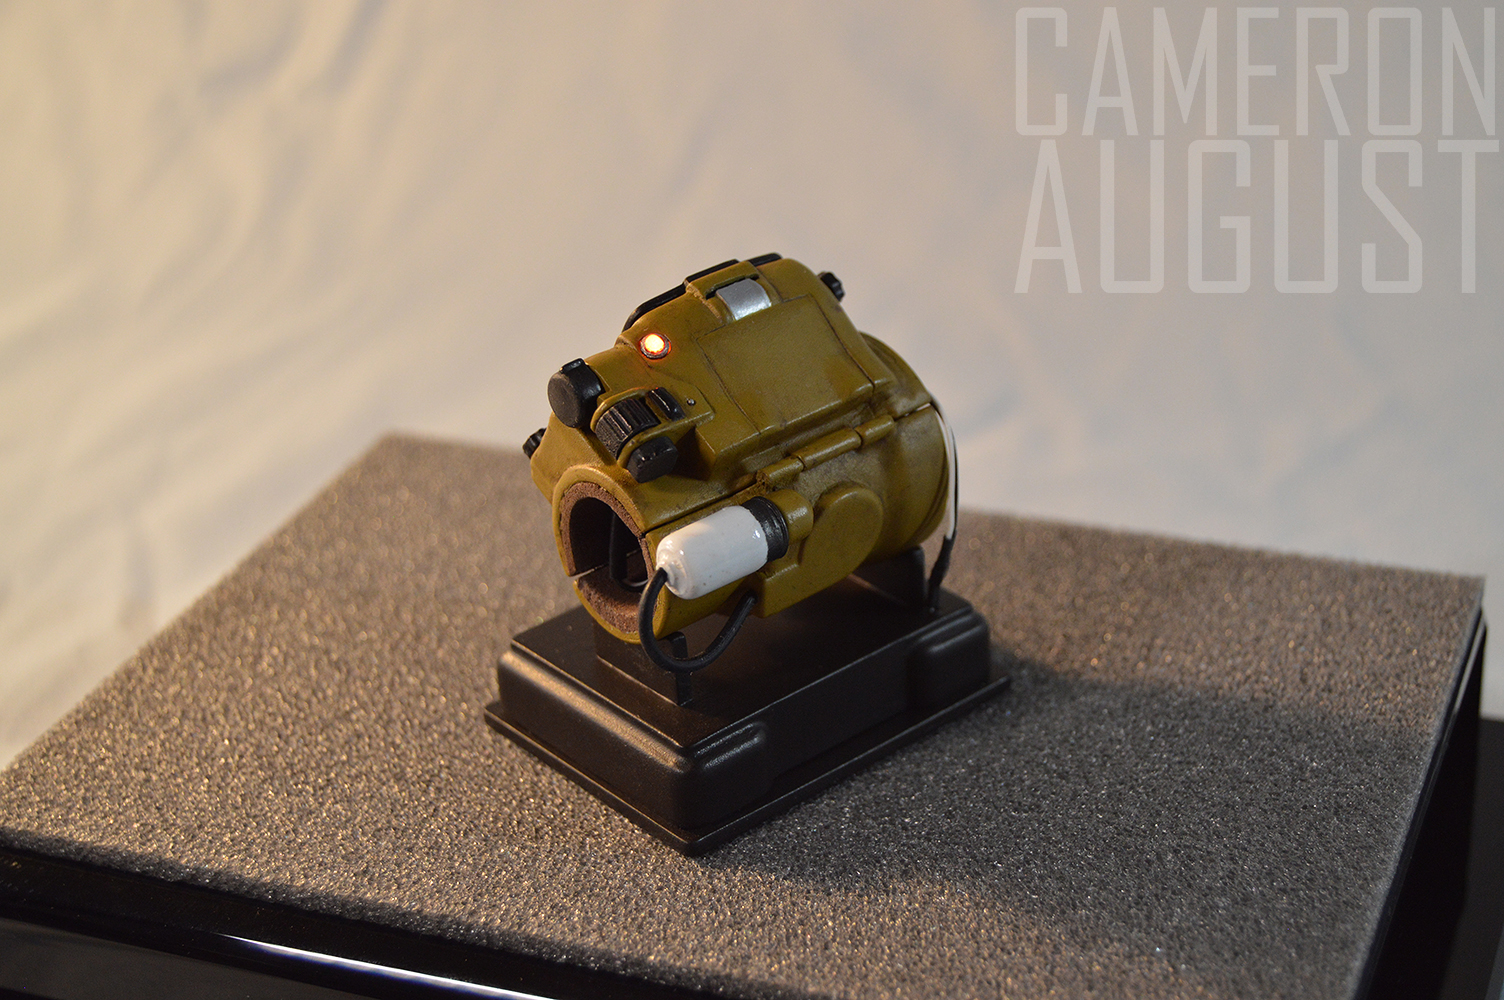


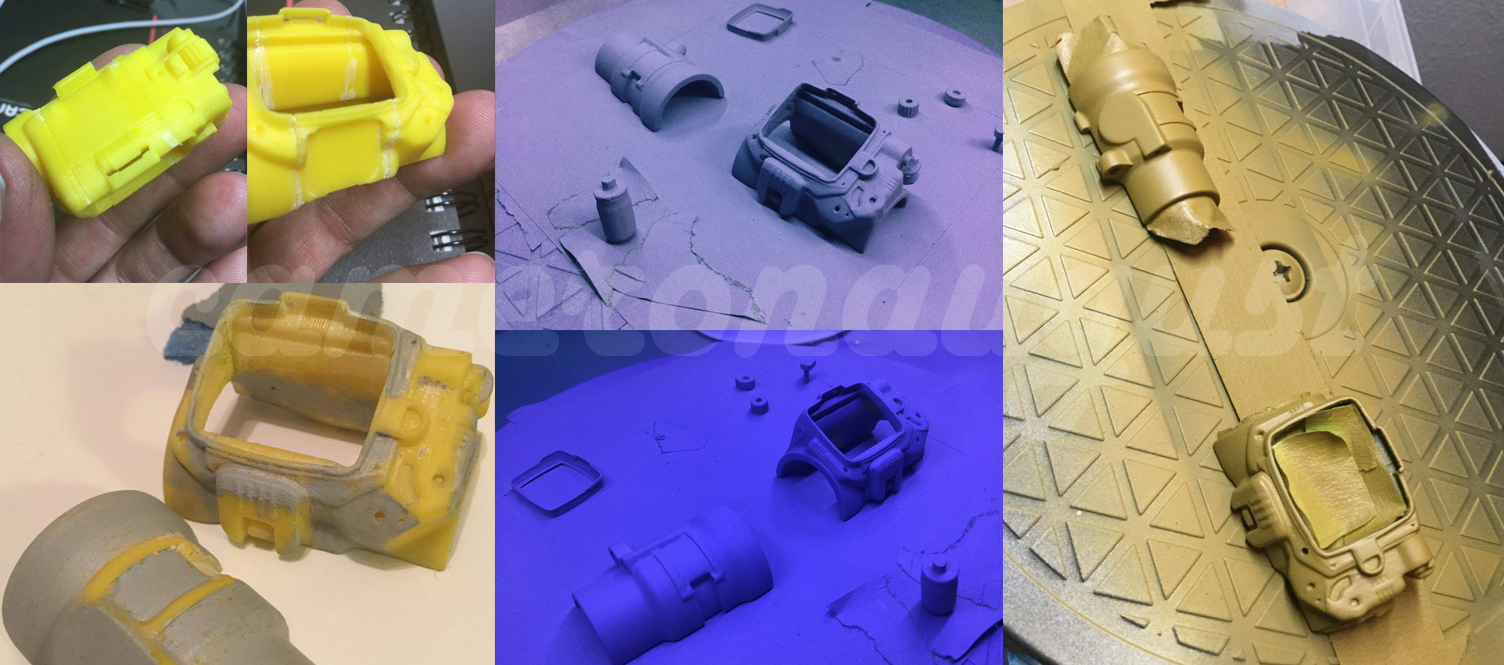
Pip-Boy Process 2/2
Luckily my favorite filament is a bright yellow. I hollowed out the print with a micro-bit then glued the "bulbs" to the shell, leaving the LEDs to rest behind them.

Pip-Boy Process 1/2


Storage Box Process
Sliced up and modified in 3DSmax to fit my dimensions
Most parts printed with my Prusa i3 mk2 3D printer.
Models used and modified:- Storage Container by TJjohn12
pip-boy 3000 mkIV by Daniel Lilygreen
Build list:
-XTC 3D Smooth-On product-
Most parts were covered in this after a rough pass. I used small amounts of acetone to thin down the mixture to keep smaller details.
-Vallejo Surface Primer-
Mostly for super smooth parts. Like the screen bezel and connector port. Not the best primer for paint adhesion. Use a promoter afterwards.
-Rust-Oleum Filler Primer-
I used this for everything else. Shot dry for areas with heavy corrosion. Sanded to different smoothness for corresponding real world texture.
-Tamiya Putty Grey-
Thinned down in most cases with Lacquer thinner. Used to fill gaps and hard to reach areas with heavy print lines. -Liquitex Acrylics- -Vallejo Airbrush Paint-
-Vallejo Model Paint-
-Crappy Wal-mart Acrylics-
-Design Master Clear Finish Matte Varnish-
For protecting that precious base paint layer before weathering and after to seal it all up.
-LEDs-
Scale of the Pip-Boy was designed to be worn by my Sole Survivor character: Isaac
As you can see, he's a big dude. So the dimensions were made to fit his height and my art style.
Source